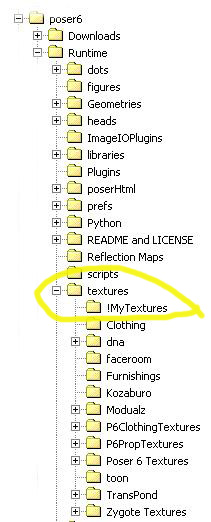
Next, we need to have a template and/or a seam guide. For DAZ products, a template is usually available for free from the product page.
There are also many guides at various 3D sites. If one is not to be found, there are UV mapper programs available, but that is the subject of a future tutorial.
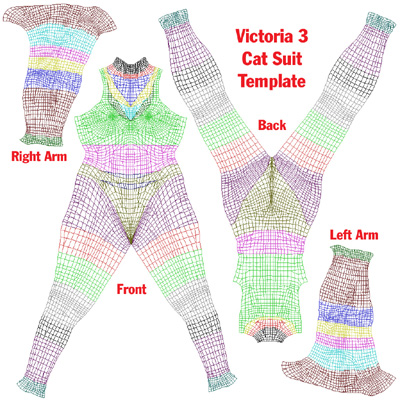
On this template, each material zone is colored to outline the named area it covers.
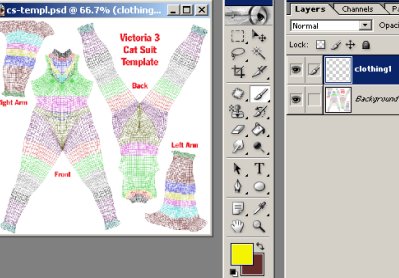
Now, with a 2D program that supports some type of layered file, save the seam guide into that type of file.
I am going to be using Photoshop and making the base file in .PSD format, but the principles apply to any layered file.
Next, add another layer to start our texturing, while preserving the template.
I have made the window smaller to fit into this presentation, you will actually be working at a size comfortable to you.
Now for a test, let's save to a jpeg and apply that in the material room to get a feel for things.
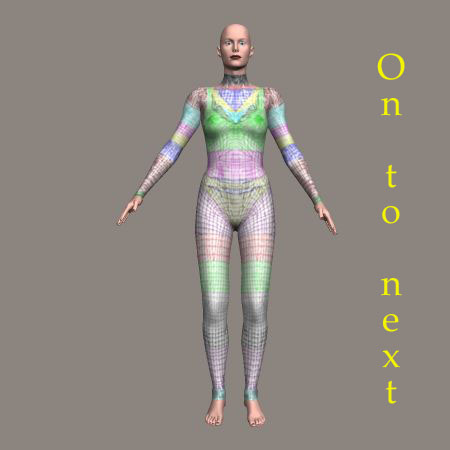
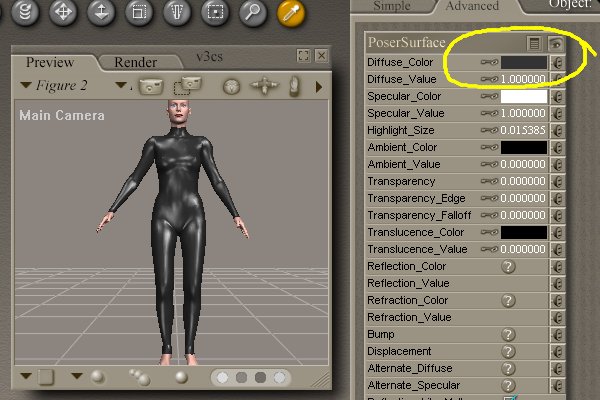
Here we are in the material room, and we can see Victoria as you have dressed her in the basic catsuit.
Start by changing the color of the diffuse node. Just left click and you will get a color picking menu. Just use the dropper to get a white color for now. Repeat the procedure for the specular color, but change it to black.
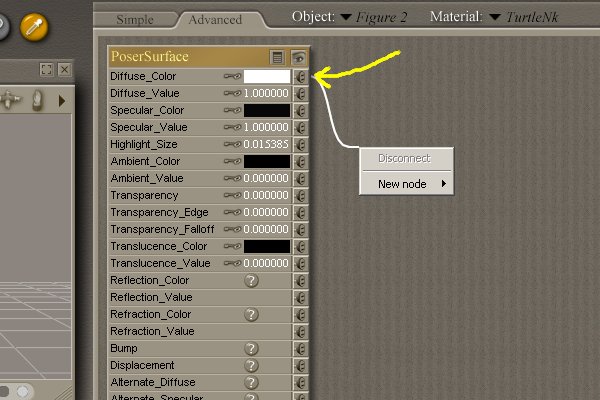
Left click, drag and release to get a prompt for a new node.
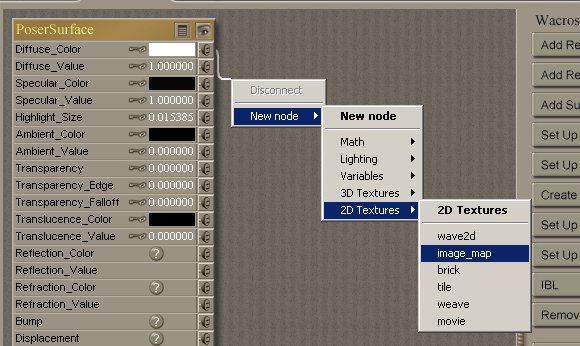
We are going to make the node a 2D image map, so we have to traverse the tree all the way down.
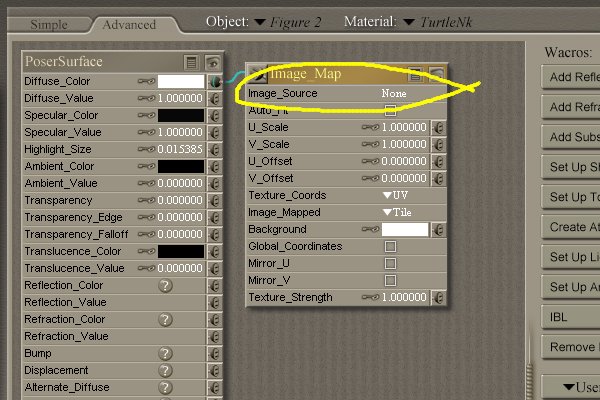
Now we have a blank spot for our test image and we will browse to where it is by clicking on the "None" part.
Select both "Poser Surface" and "Image Map" by Left Clicking and then Shift Left Clicking. Right Click to get pull down menu for "Apply to All"
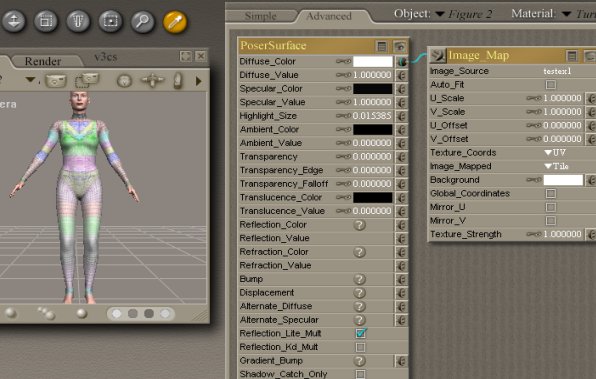
Now we have an idea of where the material zones are and we can start the design phase. Click on picture to go to next page.