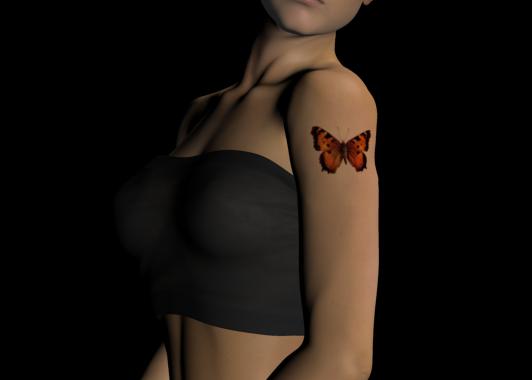
Tattoos are becoming more mainstream and acceptable as the art they are meant to be.   Including skin art can make your renders in contemporary times seem more in touch.


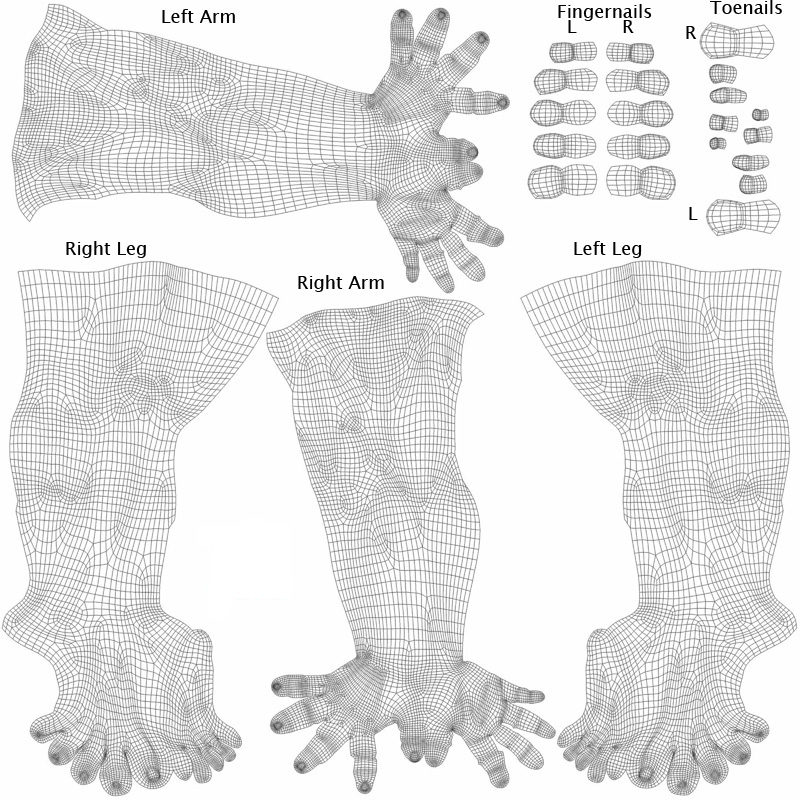
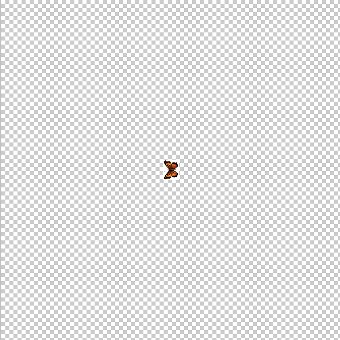
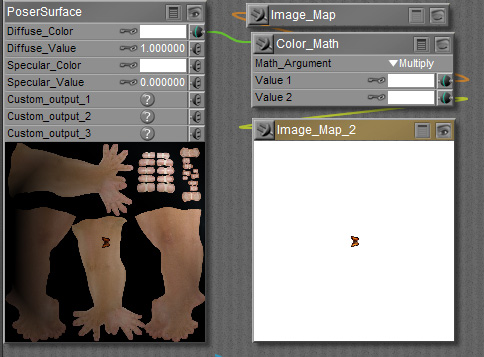
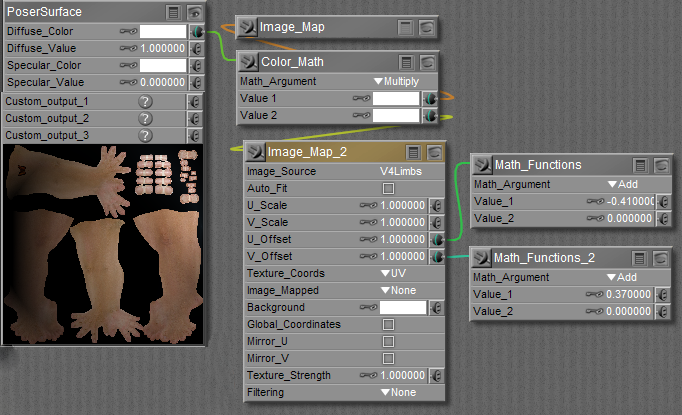
For this tutorial, we are going to start with a single tattoo that does not cross seam boundaries.   The model we are using is Victoria 4 from Daz3D®, which is very widely used in Poser® at this time. The size of the texture map used for the limbs is 4000x4000 pixels, so the butterfly at 240x186 is proportionate.


The first thing to do is get familiar with template (sometimes referred to as a seam guide).   The concept can be difficult. But what you actually have is a 3D shape in two dimensions.   This is same principle when making flat map of earth from its globe shape.   The countries and continents are not shaped as appears on the flattened map, but we are accustomed to the appearance.   Greenland and Mexico are about equal in area, but Greenland appears much larger on a mercator projection map.

But enough trivia, the map is marked for the proper sections and we are going to use the area for the Left arm to apply our first tattoo.   Since we choose left arm, we must rotate image 90 degrees.   We could have used image unaltered for right arm, right leg, or left leg but this is part of the learning experience.   We will be applying other tranformations in the Material Room farther down the line.


Next, we will make a layered working file.   The .PSD type is probably the most versatile.   It can be used in many 2D applications.   Most notably, it is able to be used in GIMP.    GIMP is a solution for those on a limited budget for graphics application.   It is free from the website at GIMP.org

The base layer will be our template file.   The easiest way to do this is just open the file in 2D application and do a "Save as.." with .PSD as type and a name of your choice.    Your original file will be preserved.   Just above the base layer, a white layer is put in.   This will not be visible for the most part.   It is only the background for the final product.   The top layers are for the actual tattoo's.    When you place an image into a layered file, it is auto centered.   This is not a problem, because you can just drag it to any spot you like.   But we are going to leave it where it is and do further manipulation in the Poser Material Room.

template base layer
white layer
tattoo layer
Now, we are in the Poser Material Room.   Create a Color_Math node and set it's function to multiply.   The output of this node will go to the Diffuse_Color slot most of the time.
In some cases, the diffuse texture will sometimes make a circuitous route to that slot, so we just insert it between the map and that entry point.   The diffuse map for the figure will plug into Value 1 and the tattoo map into Value 2.   We can see in the preview window that the tattoo and skin appear to combine properly.    That is the purpose of the multiply node as opposed to a blend node.   Any quantity multiplied by 1 retains its value.   The white color in the tattoo mask has no effect on the colors in the diffuse map.    However, our butterfly is not positioned where we want it.   Instead of editing the image, we can use the U_Offset and V_Offset values for fine positioning of the tattoo.    If needed, the scale of the image can be changed by using a Math_Function node set to multiply and attached to U_Scale and V_Scale.