but the principles apply to almost any modeling program.
| For
this tutorial, we are using Lightwave 7.5 and optionally
Vue, but the principles apply to almost any modeling program. |
|
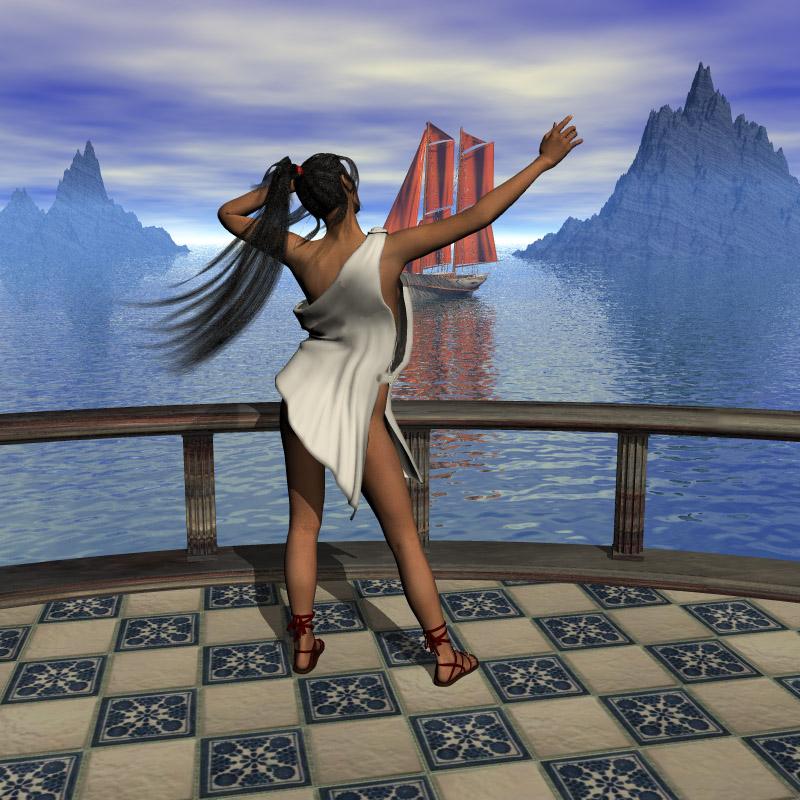
Pick out the basic shapes and stack them up (about the same way I used to play with blocks).
|

Next depends on the modeling program you use. I just copy only the points I need to somewhere else, and connect them as a single polygon. |
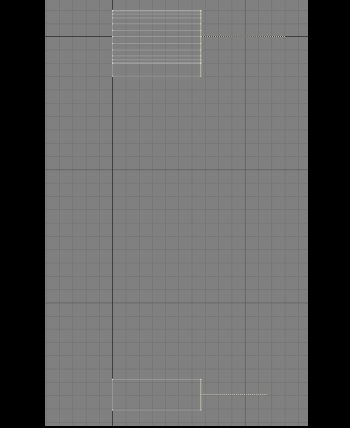
Use a smooth shift forward of about six inches to make our cutout into a 3D object.
|
|
From an angle the shape looks like this. |
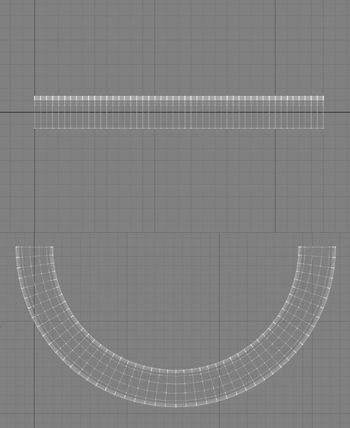 Now we make an array of our sections. We want to have enough sections so it will bend smoothly. I used 48 in this case. |
Let's slap on a texture to see how it looks. |
|
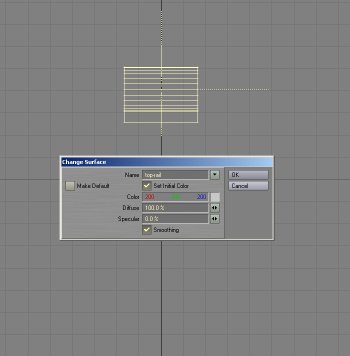 The texture went on the "Default" material because there is only that material in our model. We will be adding others, so we are going to give this surface a unique name. In polygon mode (shortcut ctrl-H) select the object then use the "Change Surface" command ("q") and give it a name in the dialog box. |
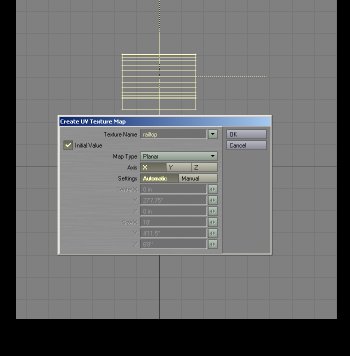 In Lightwave there are a lot of ways to control the appearance of the texture, but we are going to be exporting this one out. We will create a UV map that other applications can understand. |
||
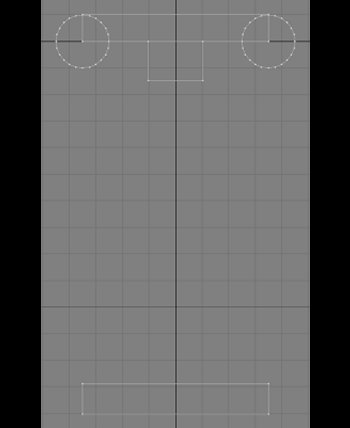
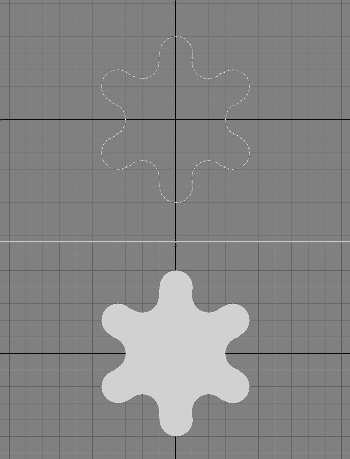 This is a squiggle for the columns. It's just the points from some half circles strung together. |
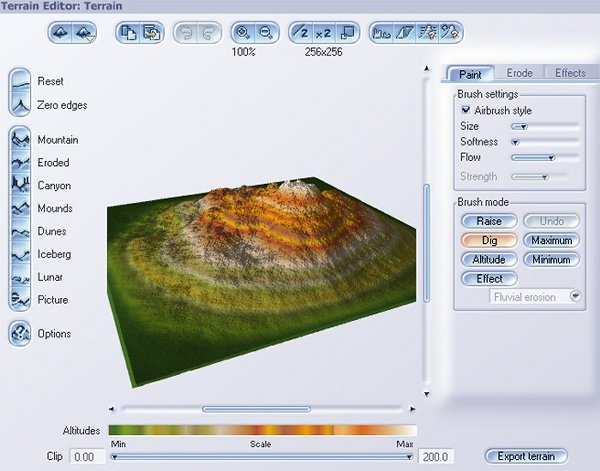
Now we could do another smooth shift and get the whole column, but let's have some fun instead. Both Bryce and Vue have deadended internal objects (OBP & VOB), the only 3D things you can export are terrains. So I'm thinking how can I turn this to my advantage. For this example we are going to use Vue, but it's the same in principle for other programs. Here is a standard terrain, just created and ready for us to replace with our greyscale image. |
||
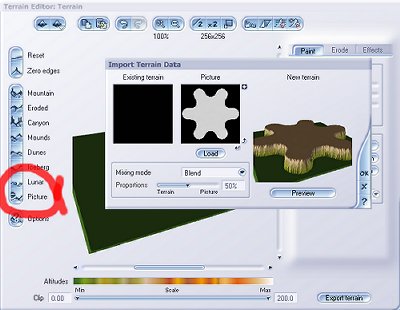
Here's our image in the preview mode, looks good to go. When you are doing an image, white is the highest elevation and black is the lowest. |
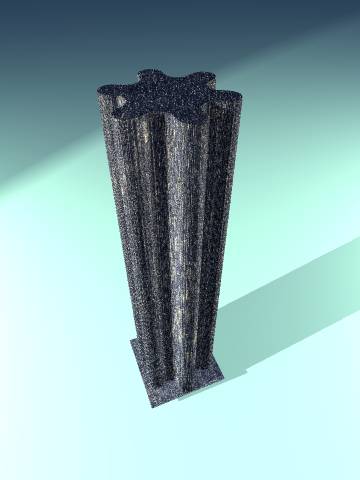
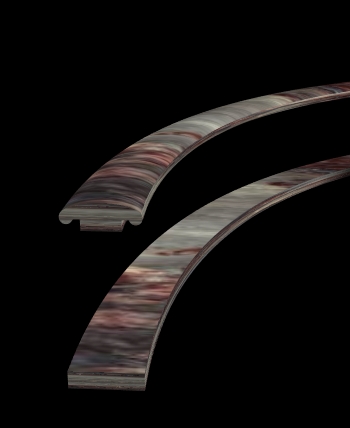
Here is our finished column, after applying a texture. We can export it in any of the supported formats to our modeling program. |
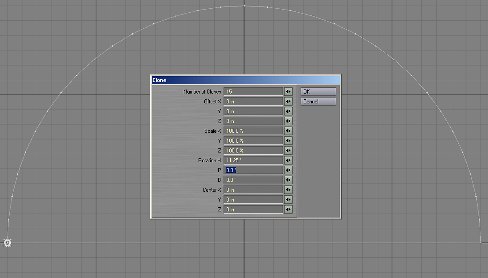
Now whichever way we made the column, we are set to clone 16 more to complete the set. Set the cloner to rotate each column 11.25 degrees (because 180 / 16 = 11.25), and they will swing through with the base always facing the center of the circle. I know 17 columns seems odd, but I wanted 8 on each side of the center. |
|
|
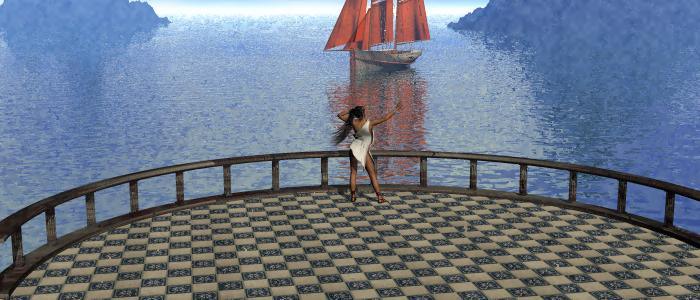
The deck is just a half circle, so just set your UV scale to the size of the tile and it should just fill things in. |
 |