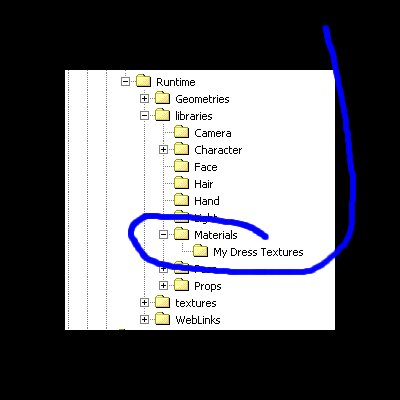
In this tutorial, we are going to convert a MAT pose and start building a collection of presets that will allow us to work better in Preview Mode.
First, we should make a folder for our collection under the Runtime directory we will be using.
| Material/Shader Presets | |
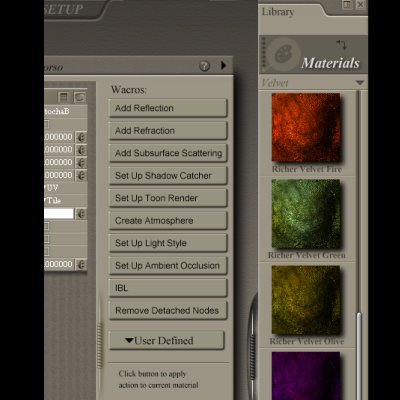
| Poser 6 and above allows you to have libraries of Material presets.
These can be single materials or collections of materials. In previous versions, users accomplished the application of multiple materials by using the unsupported MAT pose.
There is no way to generate a MAT pose file in Poser, so external applications must be used. Most of the MAT pose generators are P4 compliant and do not generate Bump Map settings very well and don't preview transmaps very well.
In this tutorial, we are going to convert a MAT pose and start building a collection of presets that will allow us to work better in Preview Mode. First, we should make a folder for our collection under the Runtime directory we will be using. |
|
| |
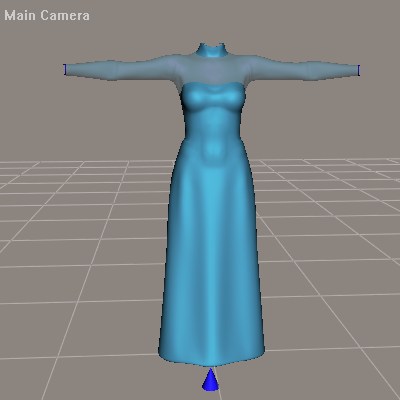
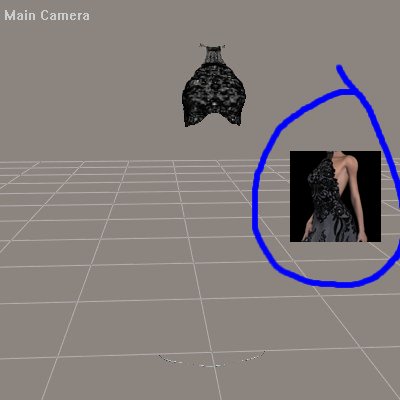
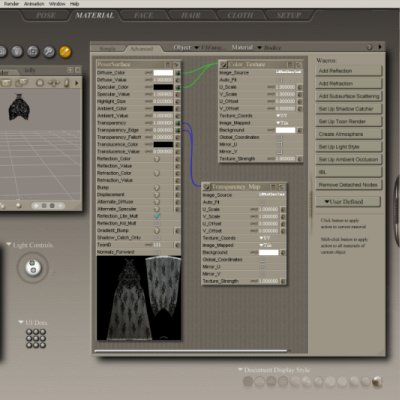
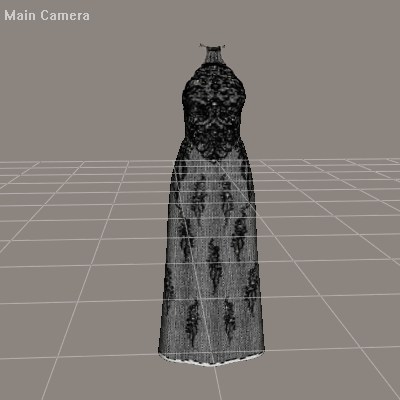
Now, we are going to use the Morphing Fantasy Dress from Daz3D® in this example. Now when we apply a MAT pose, we expected to get something like the thumbnail. This will actually render fine, it's just difficult to work with in the Preview window. Our next stop is the Material Room. |
|
 |  |
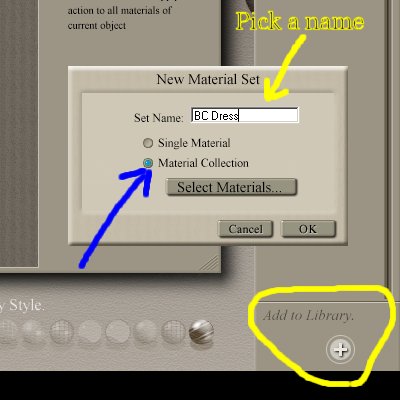
All of the textures are on the dress, so we will make a preset now. Add it with the "+" button. We give it a nice name, check the "Material Collection" box and "OK". |
|
 |  |
Now, we can apply the preset by selecting its icon and double clicking (or use the "check mark" button).
This is much more usable in the preview window. There is one optional thing to do. We can create a custom icon by setting our render dimensions to 100x100 pixels and exporting that as a .PNG to the folder with our preset.
You don't have to start from a MAT pose. You can use this method for your own textures sets. |
|
 |  |