| Let us start by writing a simple script |
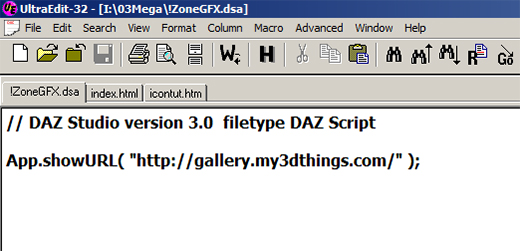 |
| The first line is a comment. It will not be executed, in this case it is information about script, like minimum version of DS required. |
The next line is the actual command in DAZ Script 2 (the current scripting language for DS).
More can be found out at Daz3D Documentation Center but for now we are just using the one command.
|
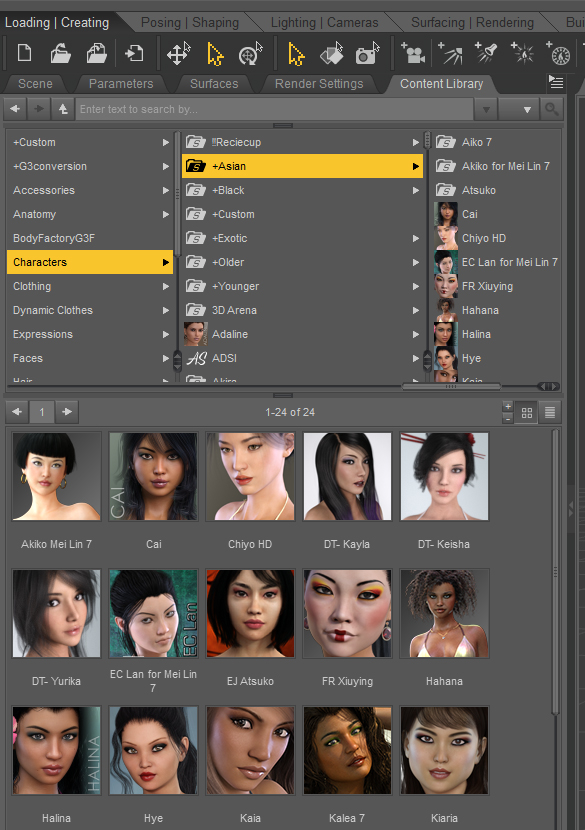
| Next, we save the file with an appropriate name. The icons are displayed alphabetically, so we choose a name that will get us the position we want. For a top position, prepending a "!" or "+" usually does the job.
We must use extension ".dsa" so DS will know this is an ASCII script. We will pair our script with a PNG file of the same name for it to display. If DS finds a script without a matching PNG it will
generate a errror marker. The script will still work, it will just not have a descriptive picture. |
 |
| The final size of the display PNG must be 91 by 91 pixels. This is a hold over from Poser format. You can make a "tool tip" PNG of almost any reasonable size to bring up details on a mouse over. The extension for this must be ".tip.png" |
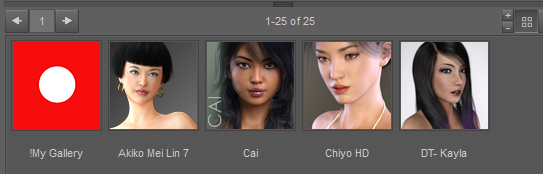 |
| You can also use this technique to enhance scripts you have saved. For example, when you save a pose or material preset to your library, it just slaps an icon of whatever is in the preview window.
With a little effort, you can change cameras, render out the area of interest in 91x91 format and overwrite the default icon. |
I have zipped an example file set for your use. Just unzip to any DS content folder. This is ASCII script, not executable in itself. To the best of my knowledge, there is no way it can harm your system, but if it does, I take no responsibility.
|
| Example files |